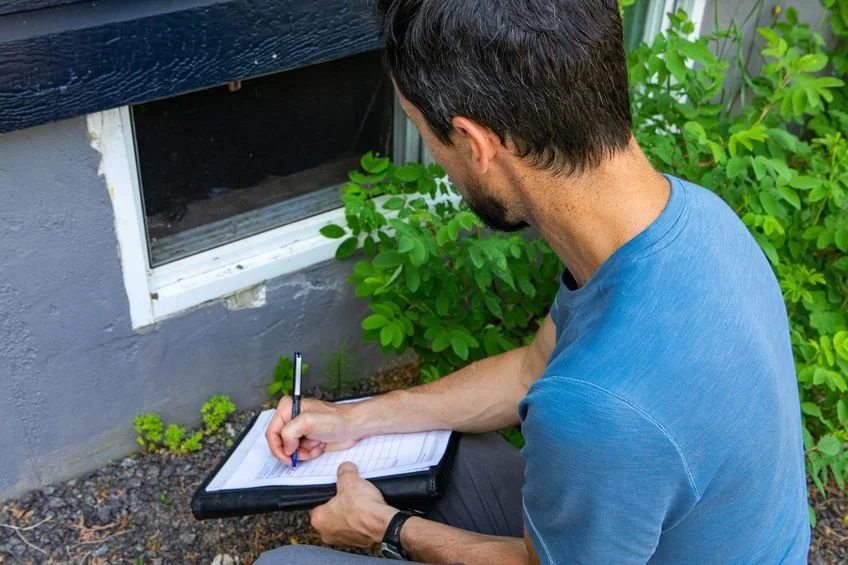

What to Expect From a Home Inspection
/
Buying a home is exciting, but it can also feel like stepping into the unknown. What’s behind that wall? Is that old window a charming feature or a future headache? A home inspection helps answer those questions and gives you a clearer picture of the property you’re about to call home.
More Than Just a Walk-Through
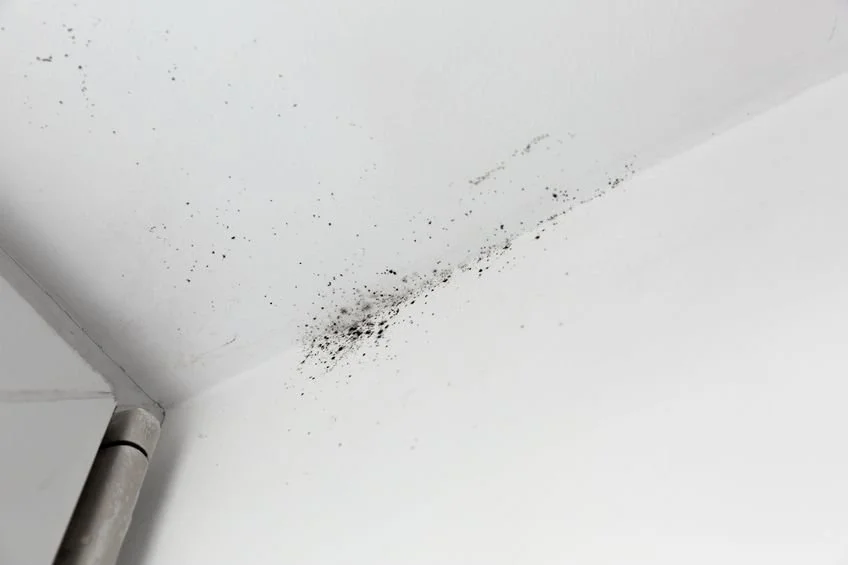
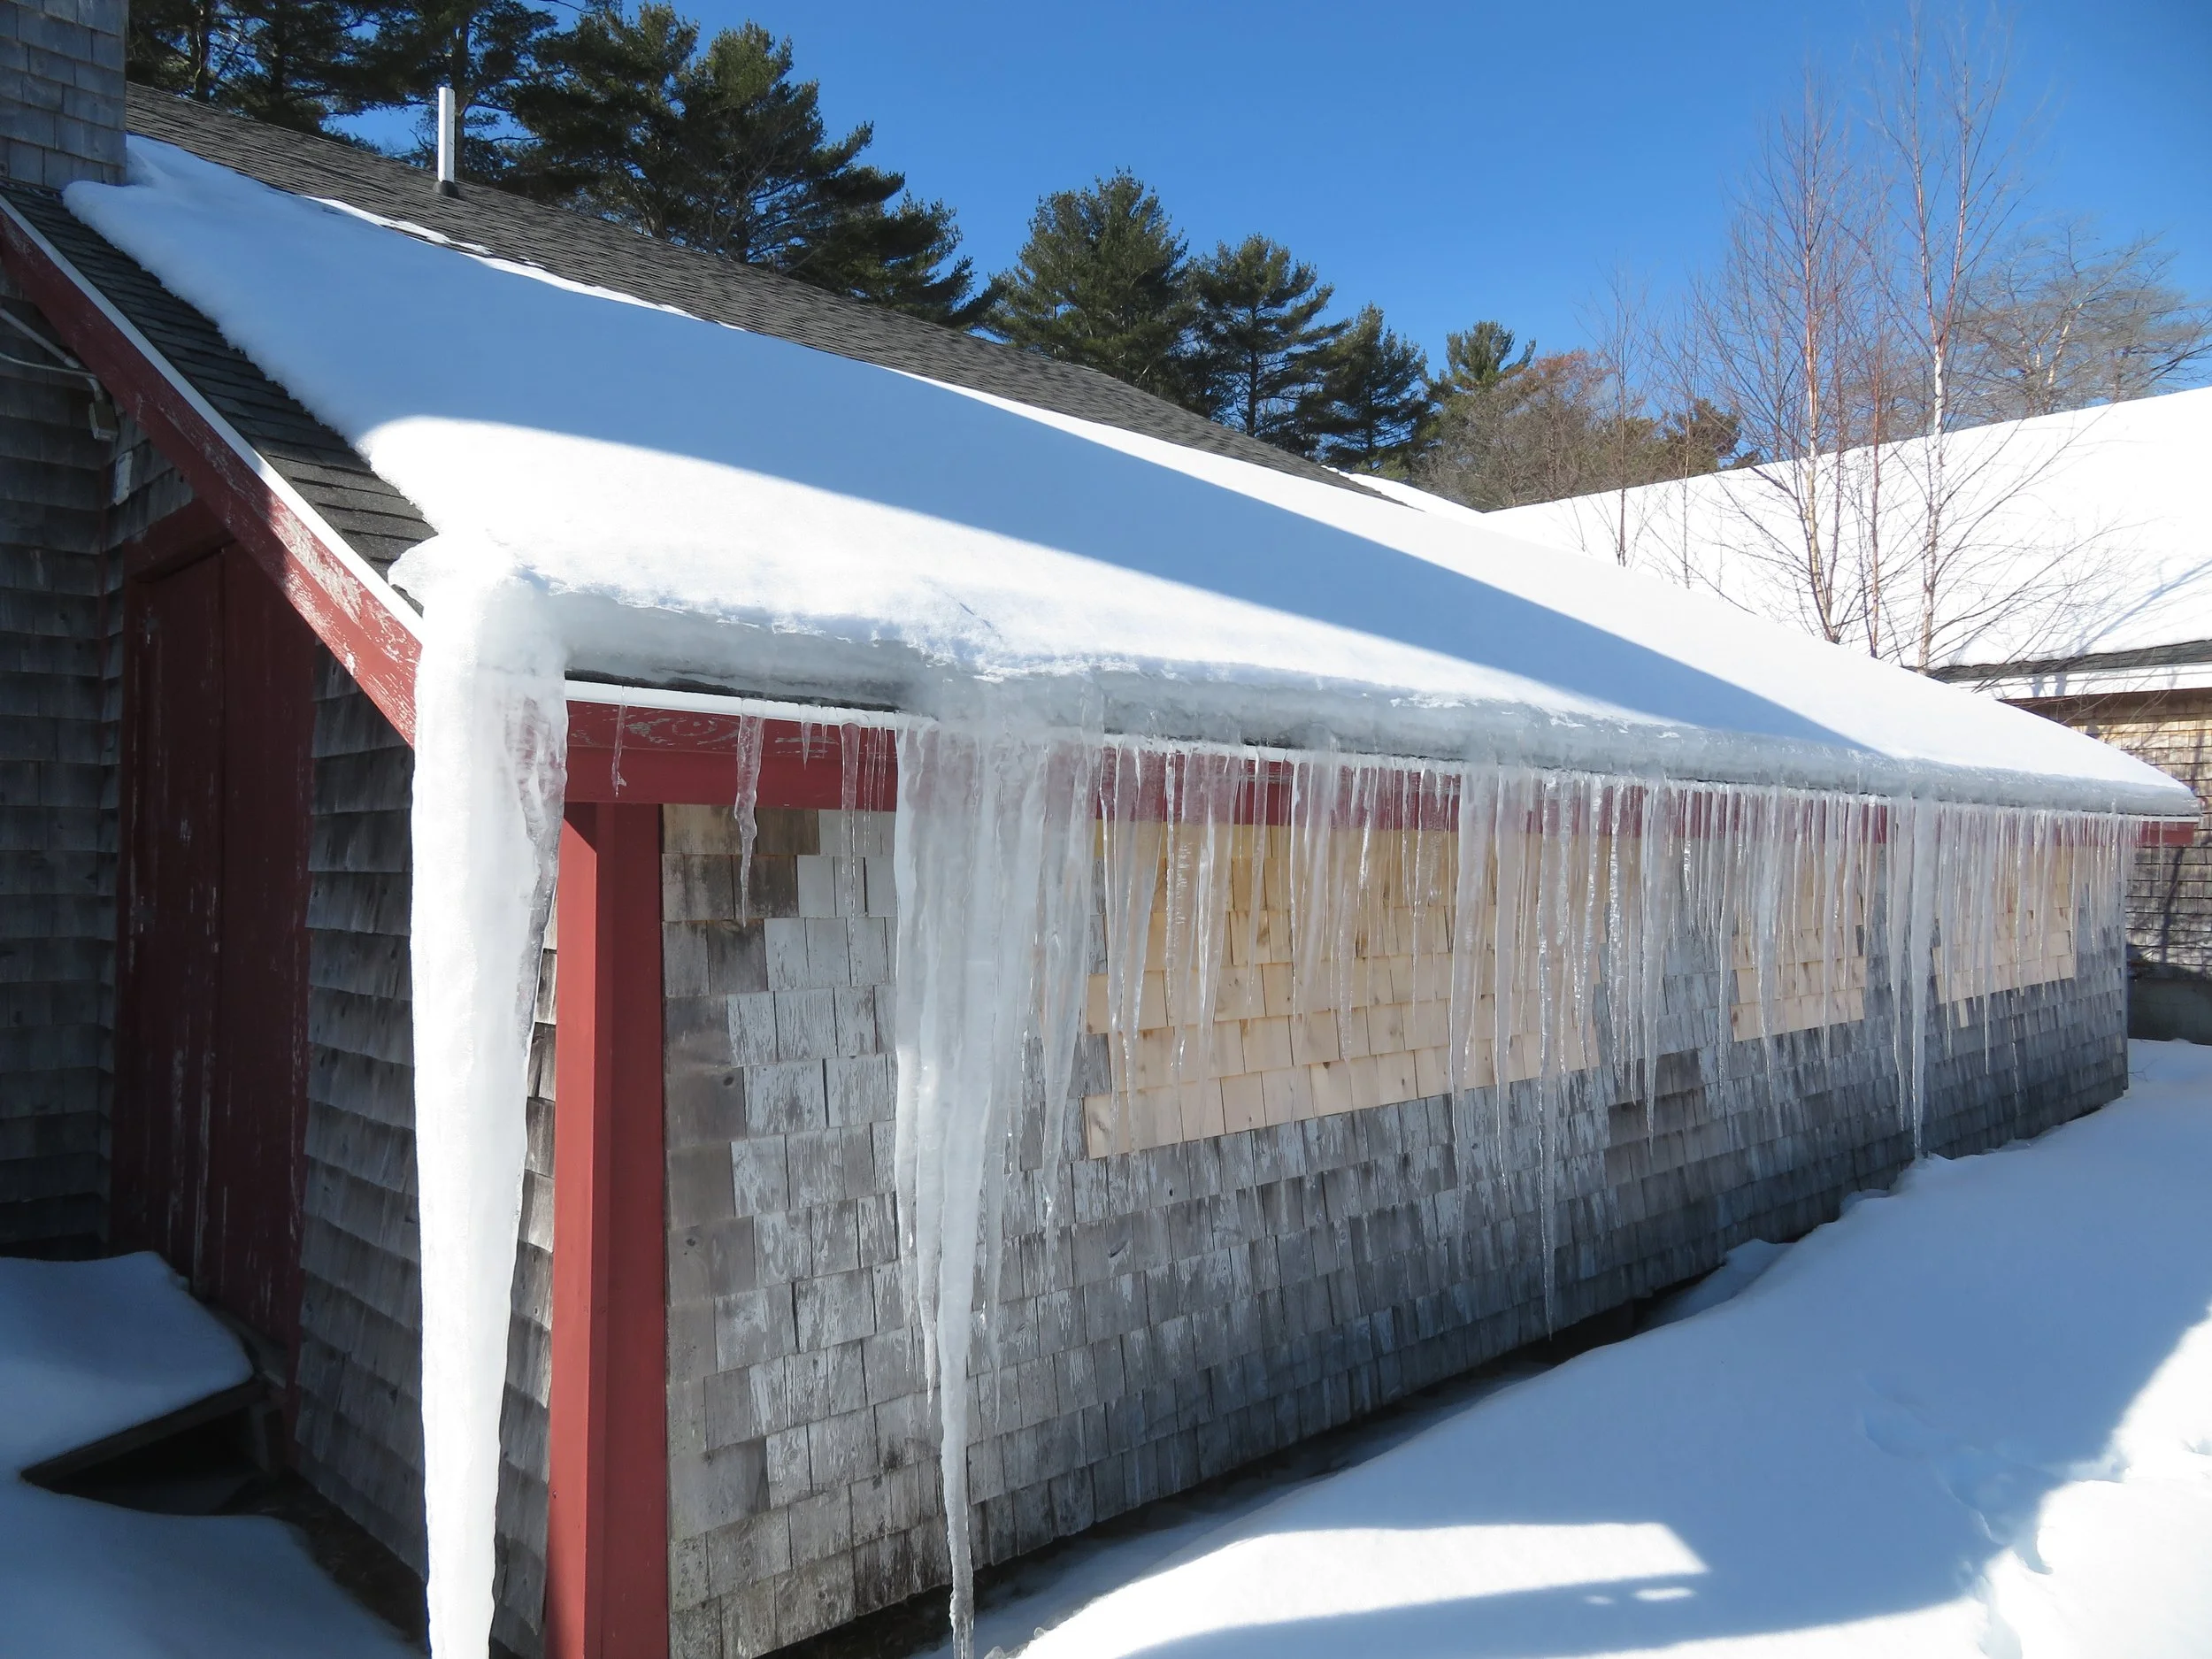
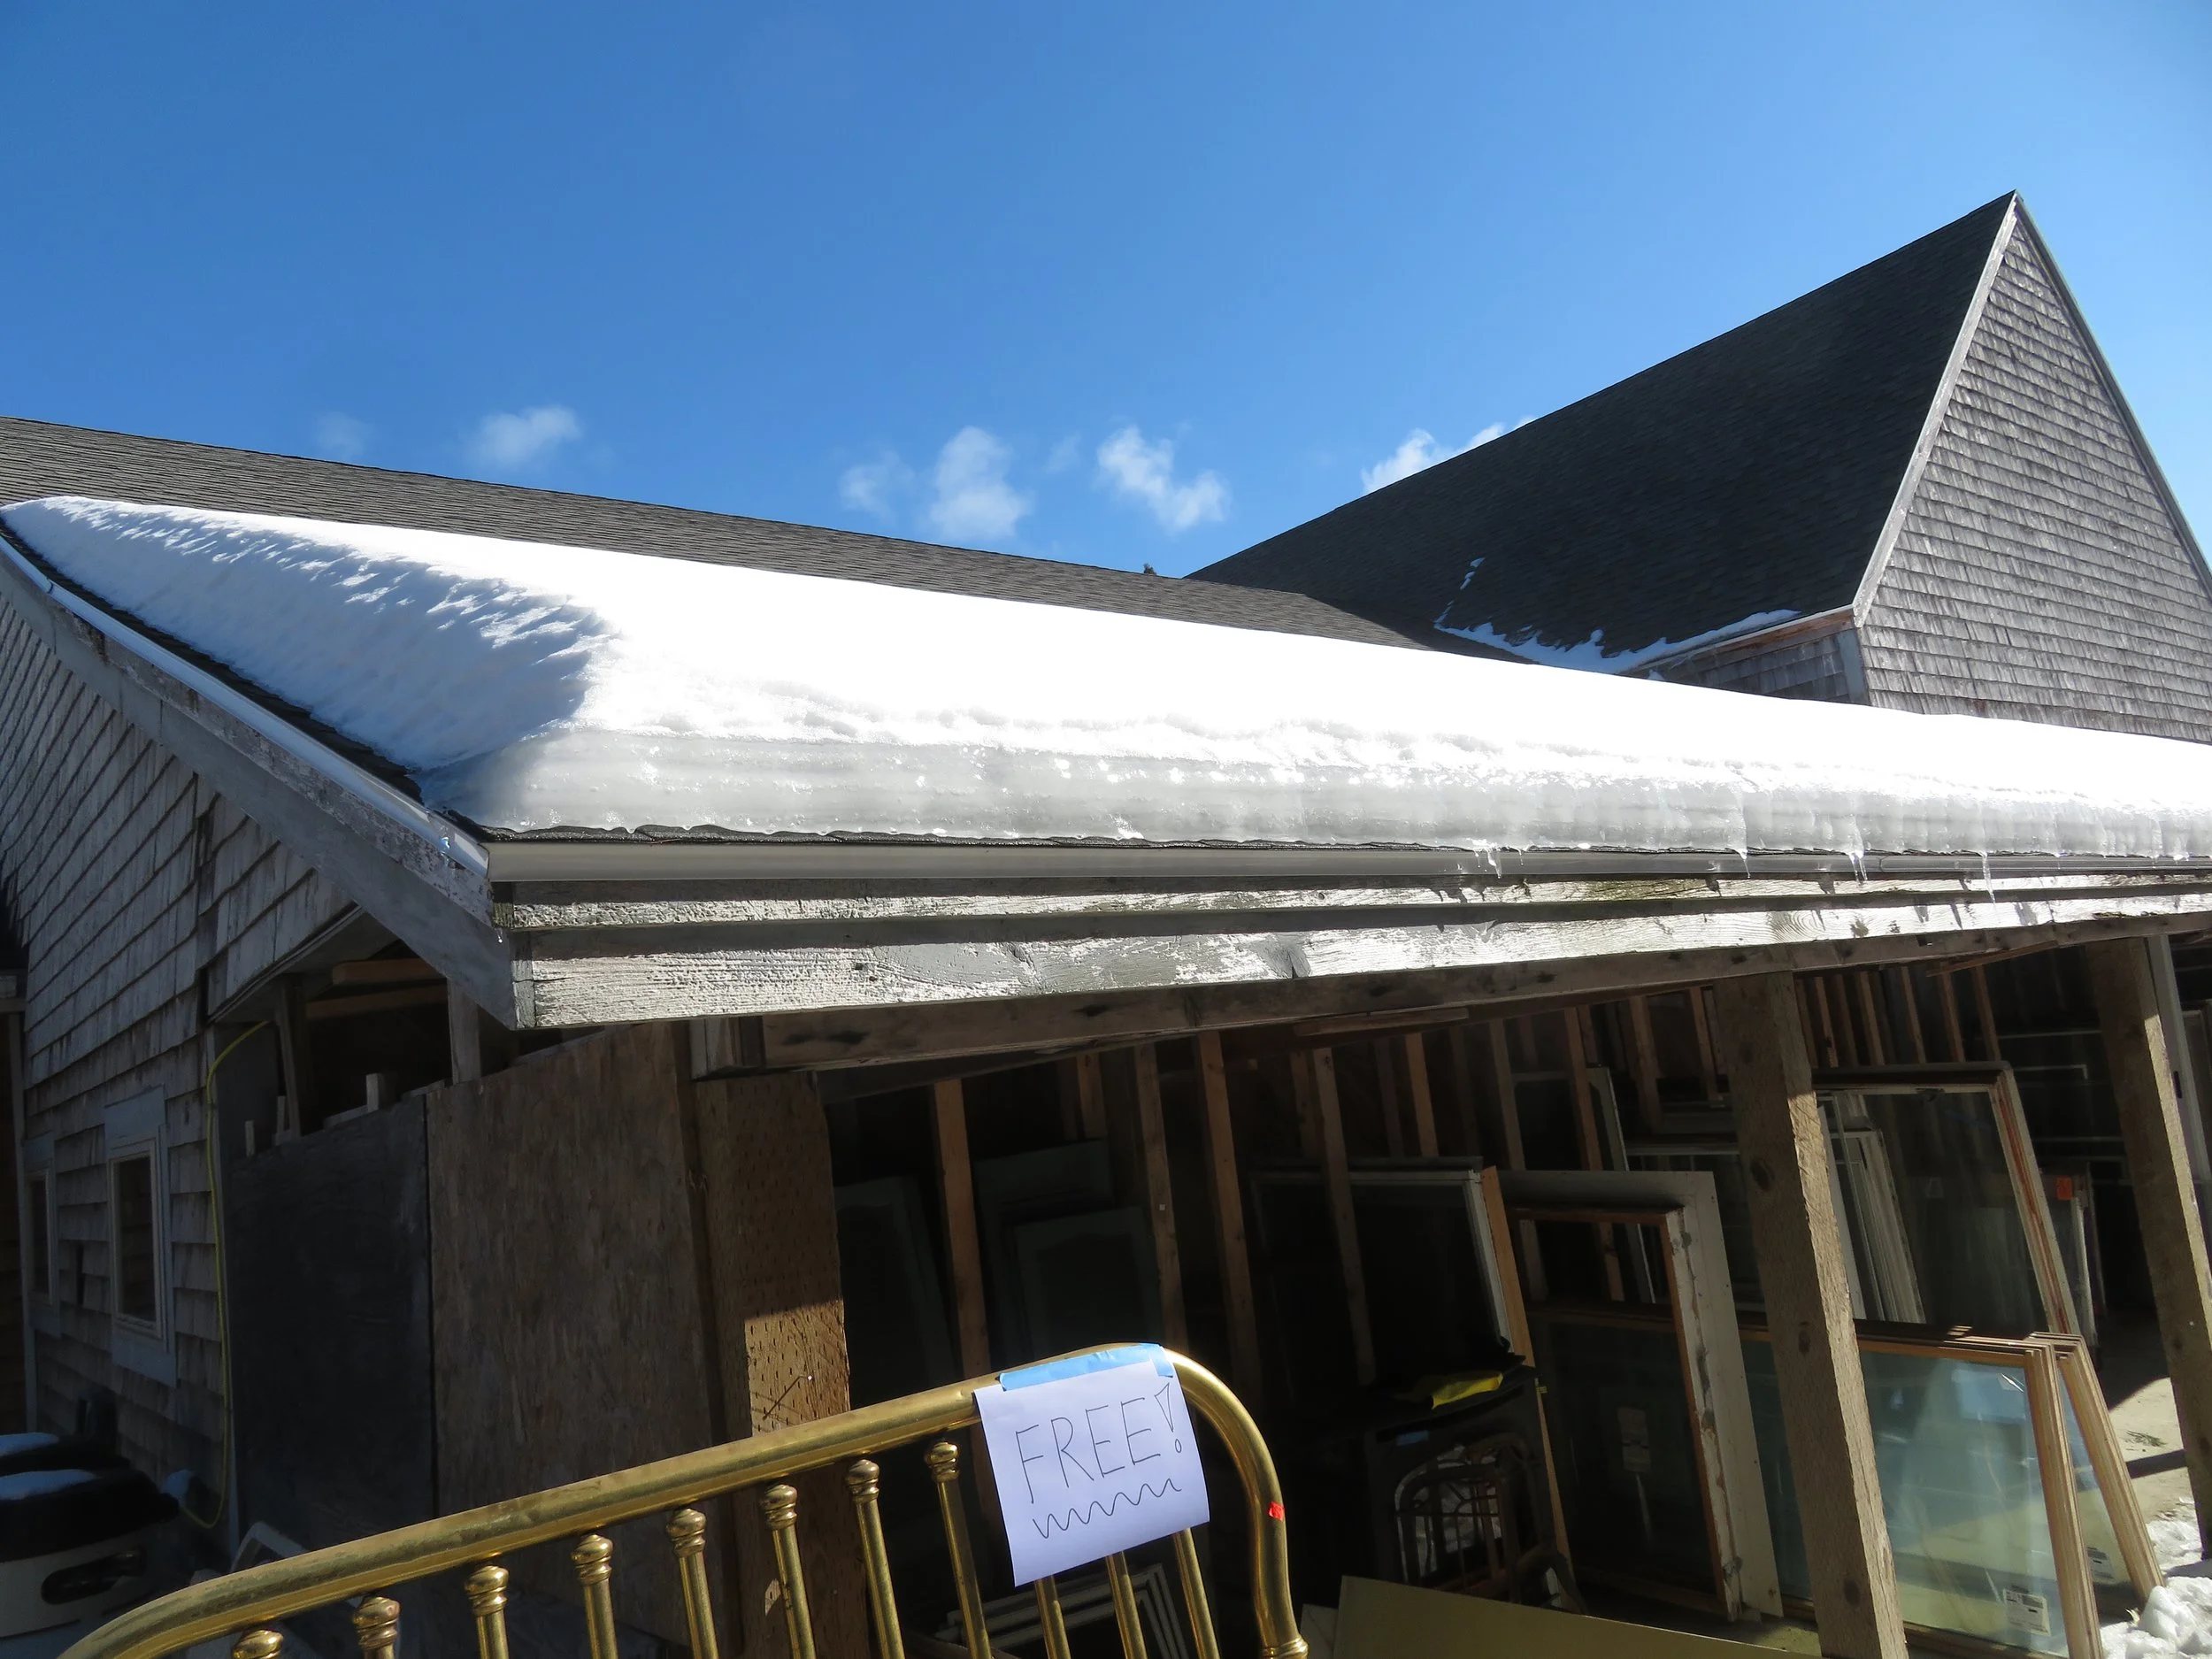
A home inspection is not simply a checklist of problems. It is a detailed look at how the major systems and components of a home are working together. During an inspection, we examine areas such as the foundation, structure, roof, exterior, interior, plumbing, electrical systems, heating systems, and more.
Think of it like getting to know all there is to know about a house. Every home has a story to tell. Some stories involve brand-new materials and modern features, while others include decades of character, repairs, and updates. Our job is to help you understand that story.
The goal is not to scare you away from a home. In fact, many homes, especially older one, have plenty of charm and craftsmanship that simply require a knowledgeable eye. We look at what is there, explain what we find, and help you understand what may need attention now or in the future.
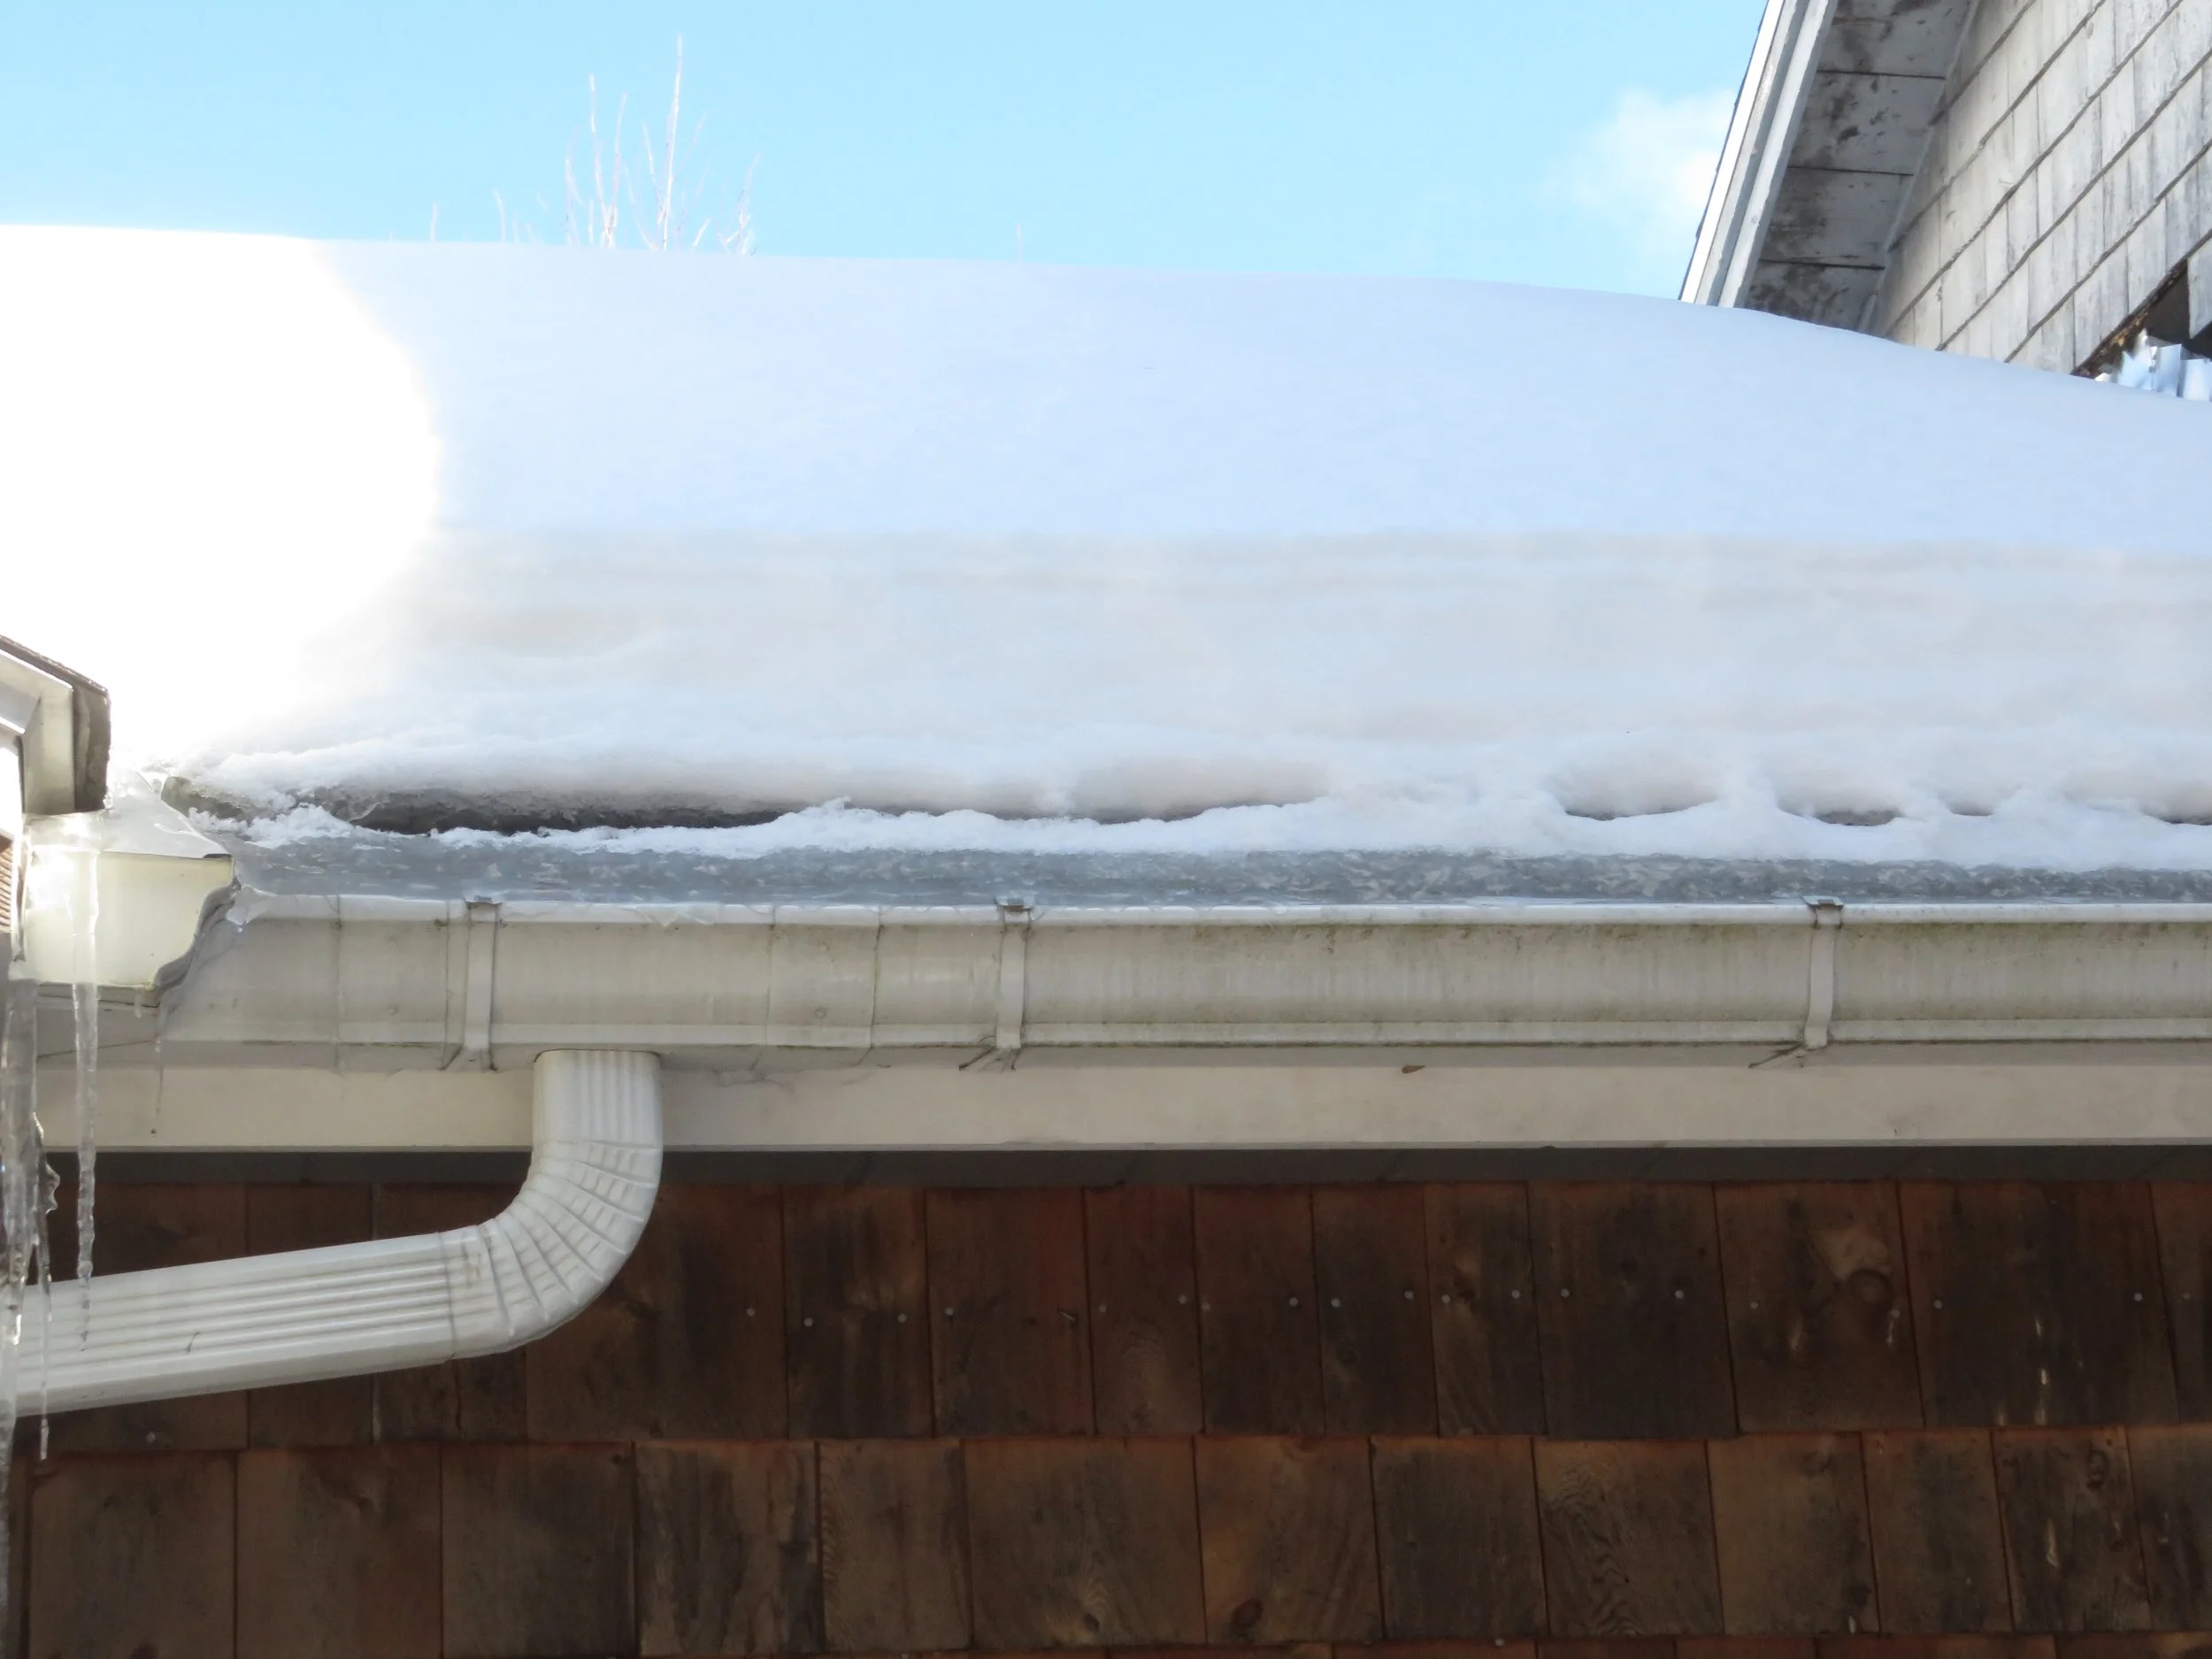
Experience Matters, Especially in Maine Homes
Homes throughout Maine can be wonderfully unique. From historic properties with traditional construction methods to newer builds with modern materials, each one comes with its own set of considerations.
Older homes often have details you won’t find in today’s construction, along with materials and building techniques that require experience to properly evaluate. Understanding how these homes were built helps provide practical insight instead of just pointing out age-related features.
As a Certified Professional Property Inspector, our approach is focused on clear communication and useful information. We want you to leave the inspection knowing more about the property and feeling comfortable asking questions along the way. Whether you are purchasing a single-family home, condominium, or multifamily building, a thorough inspection can be an important part of the decision-making process.
What Happens During and After the Inspection?
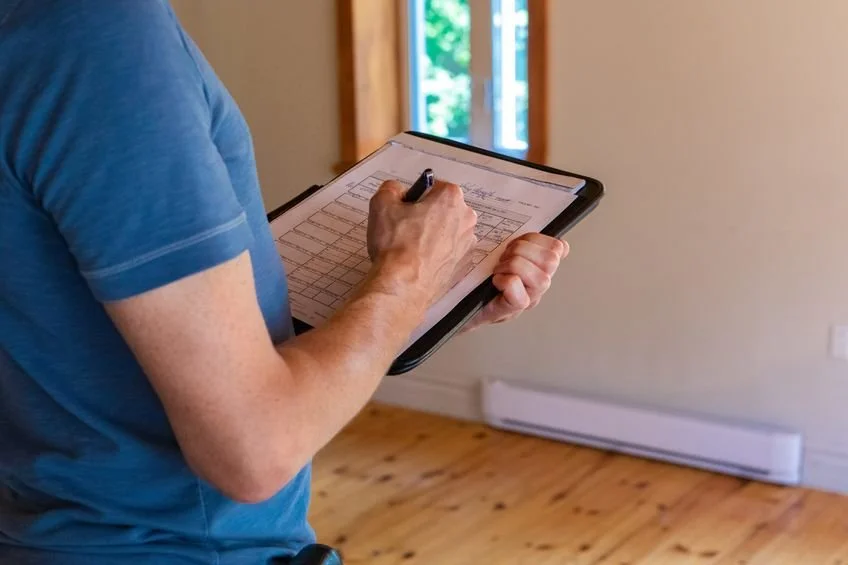
Many buyers choose to attend the inspection. Seeing things firsthand can make the final report much easier to understand. It is a chance to learn about the home, ask questions, and gain valuable knowledge you can use as a homeowner.
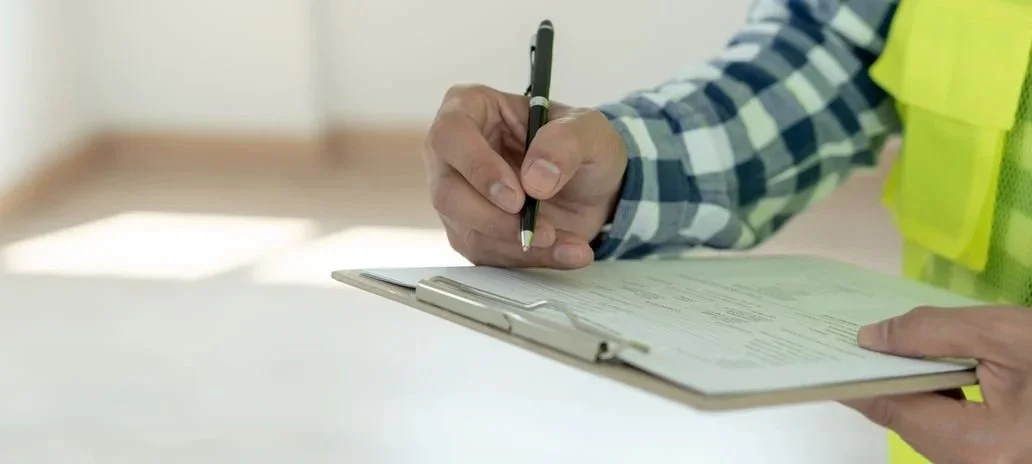
After the inspection, you receive a detailed report outlining our findings and observations. It becomes a helpful reference that you can use as you move forward, plan future maintenance, and better understand your investment.
Breakwater Inspections serves communities throughout Maine from our base in Rockland. We are experienced with homes of all ages and are always willing to go the distance to provide a thorough, professional inspection. If you are preparing to buy a home or simply want a better understanding of a property, contact us today to schedule your inspection.